by Greg Murray
last updated about 2 years ago
In my previous blog posts, I shared with you how I built this blog using Next and Sanity. In this post, I'll share with you how to set up the continuous integration and deployment (CI/CD) for a blog, which enables you to automate the build and deployment process. This is especially useful when you're working with a blog that uses a CMS because you can automate new builds when you update your content!
Hosting/Deployment
Netlify is a cloud hosting platform that provides a simple and easy way to deploy web applications. It supports many Git integrations but I personally prefer GitHub. This allows you to trigger a new build and deploy whenever you push changes to the repository.
- Sign in or sign up with Netlify.
- Add your using whichever Git provider you prefer.
- Manage your environment variables. In my case, there are a few API keys that I want to keep out of version control so I use Netlify's environment variable features.
- Set up your custom domain, if applicable.
- Netlify automatically deploys the blog whenever you push changes to the repository.
I use Netlify for most of my projects these days. To be honest I am not even aware of the pricing because everything I have used it for thus far has been free of charge. It is affordable, has great settings and integrations, and is very quick to use. I definitely recommend checking it out if you have not yet.
Webhooks
Sanity provides a webhook API that sends a request to a provided URL whenever a dataset changes. This webhook can be used to trigger a new build of your app which is particularly useful for blogs.
To set up the webhook, I followed these steps:
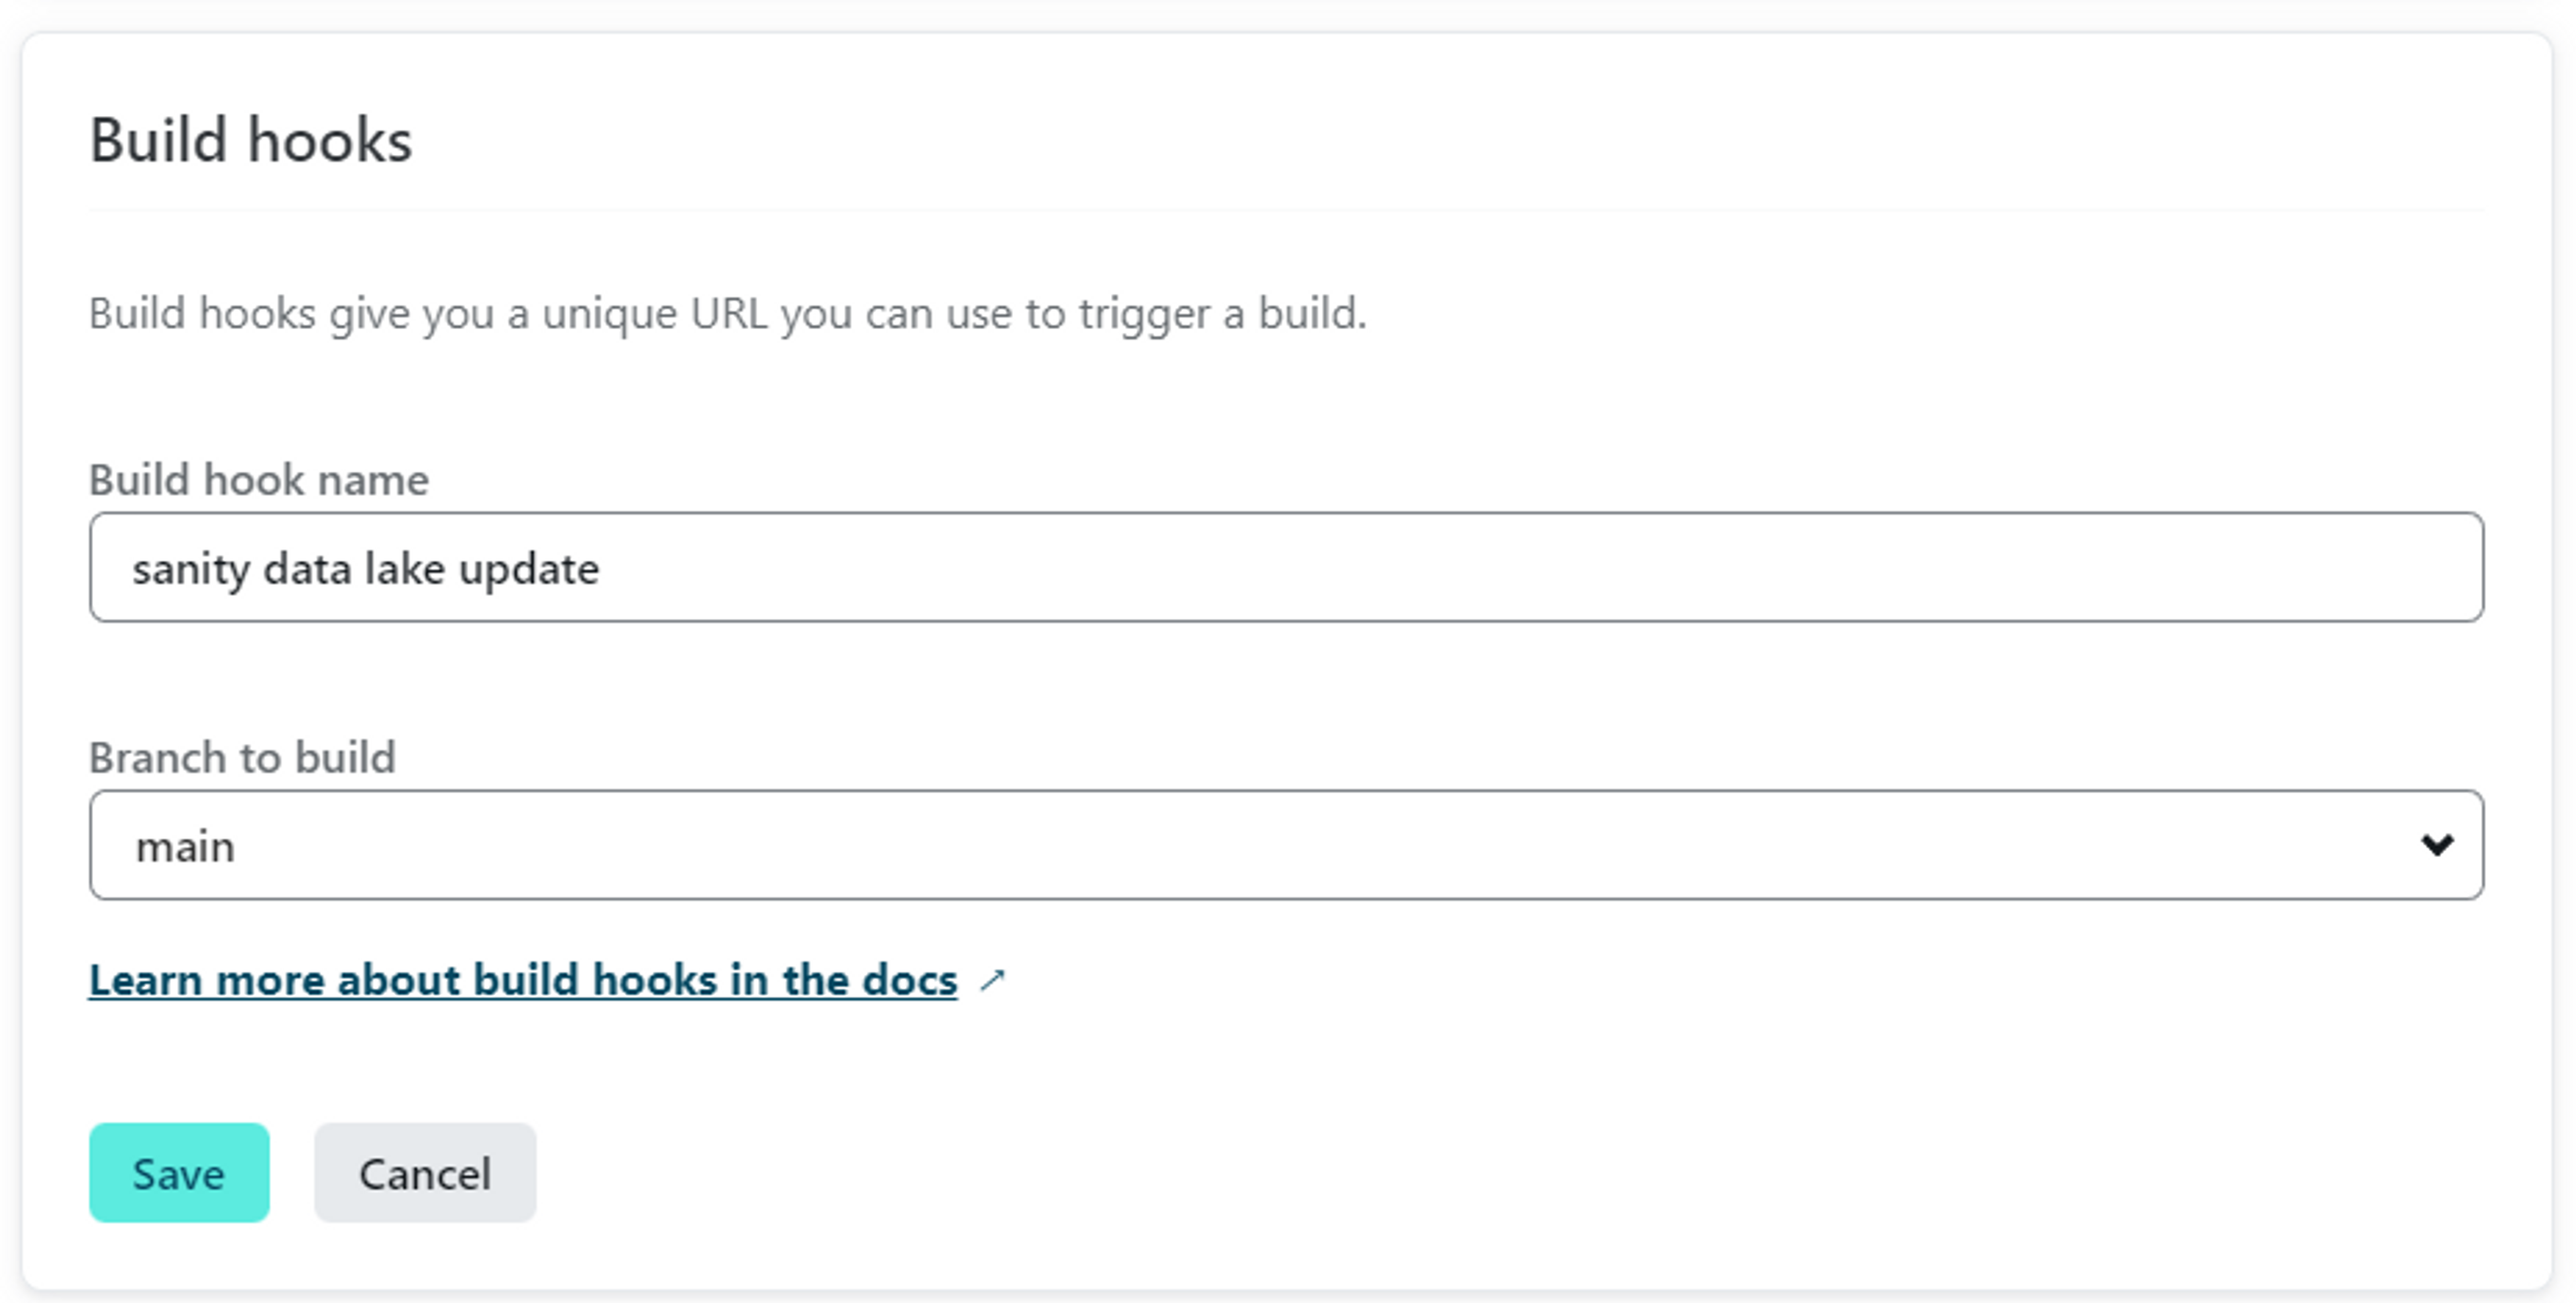
- In Netlify, add a new build hook and copy the URL.
- Configure the build hook settings, such as the branch to deploy, the environment variables to use, and the build command to run.
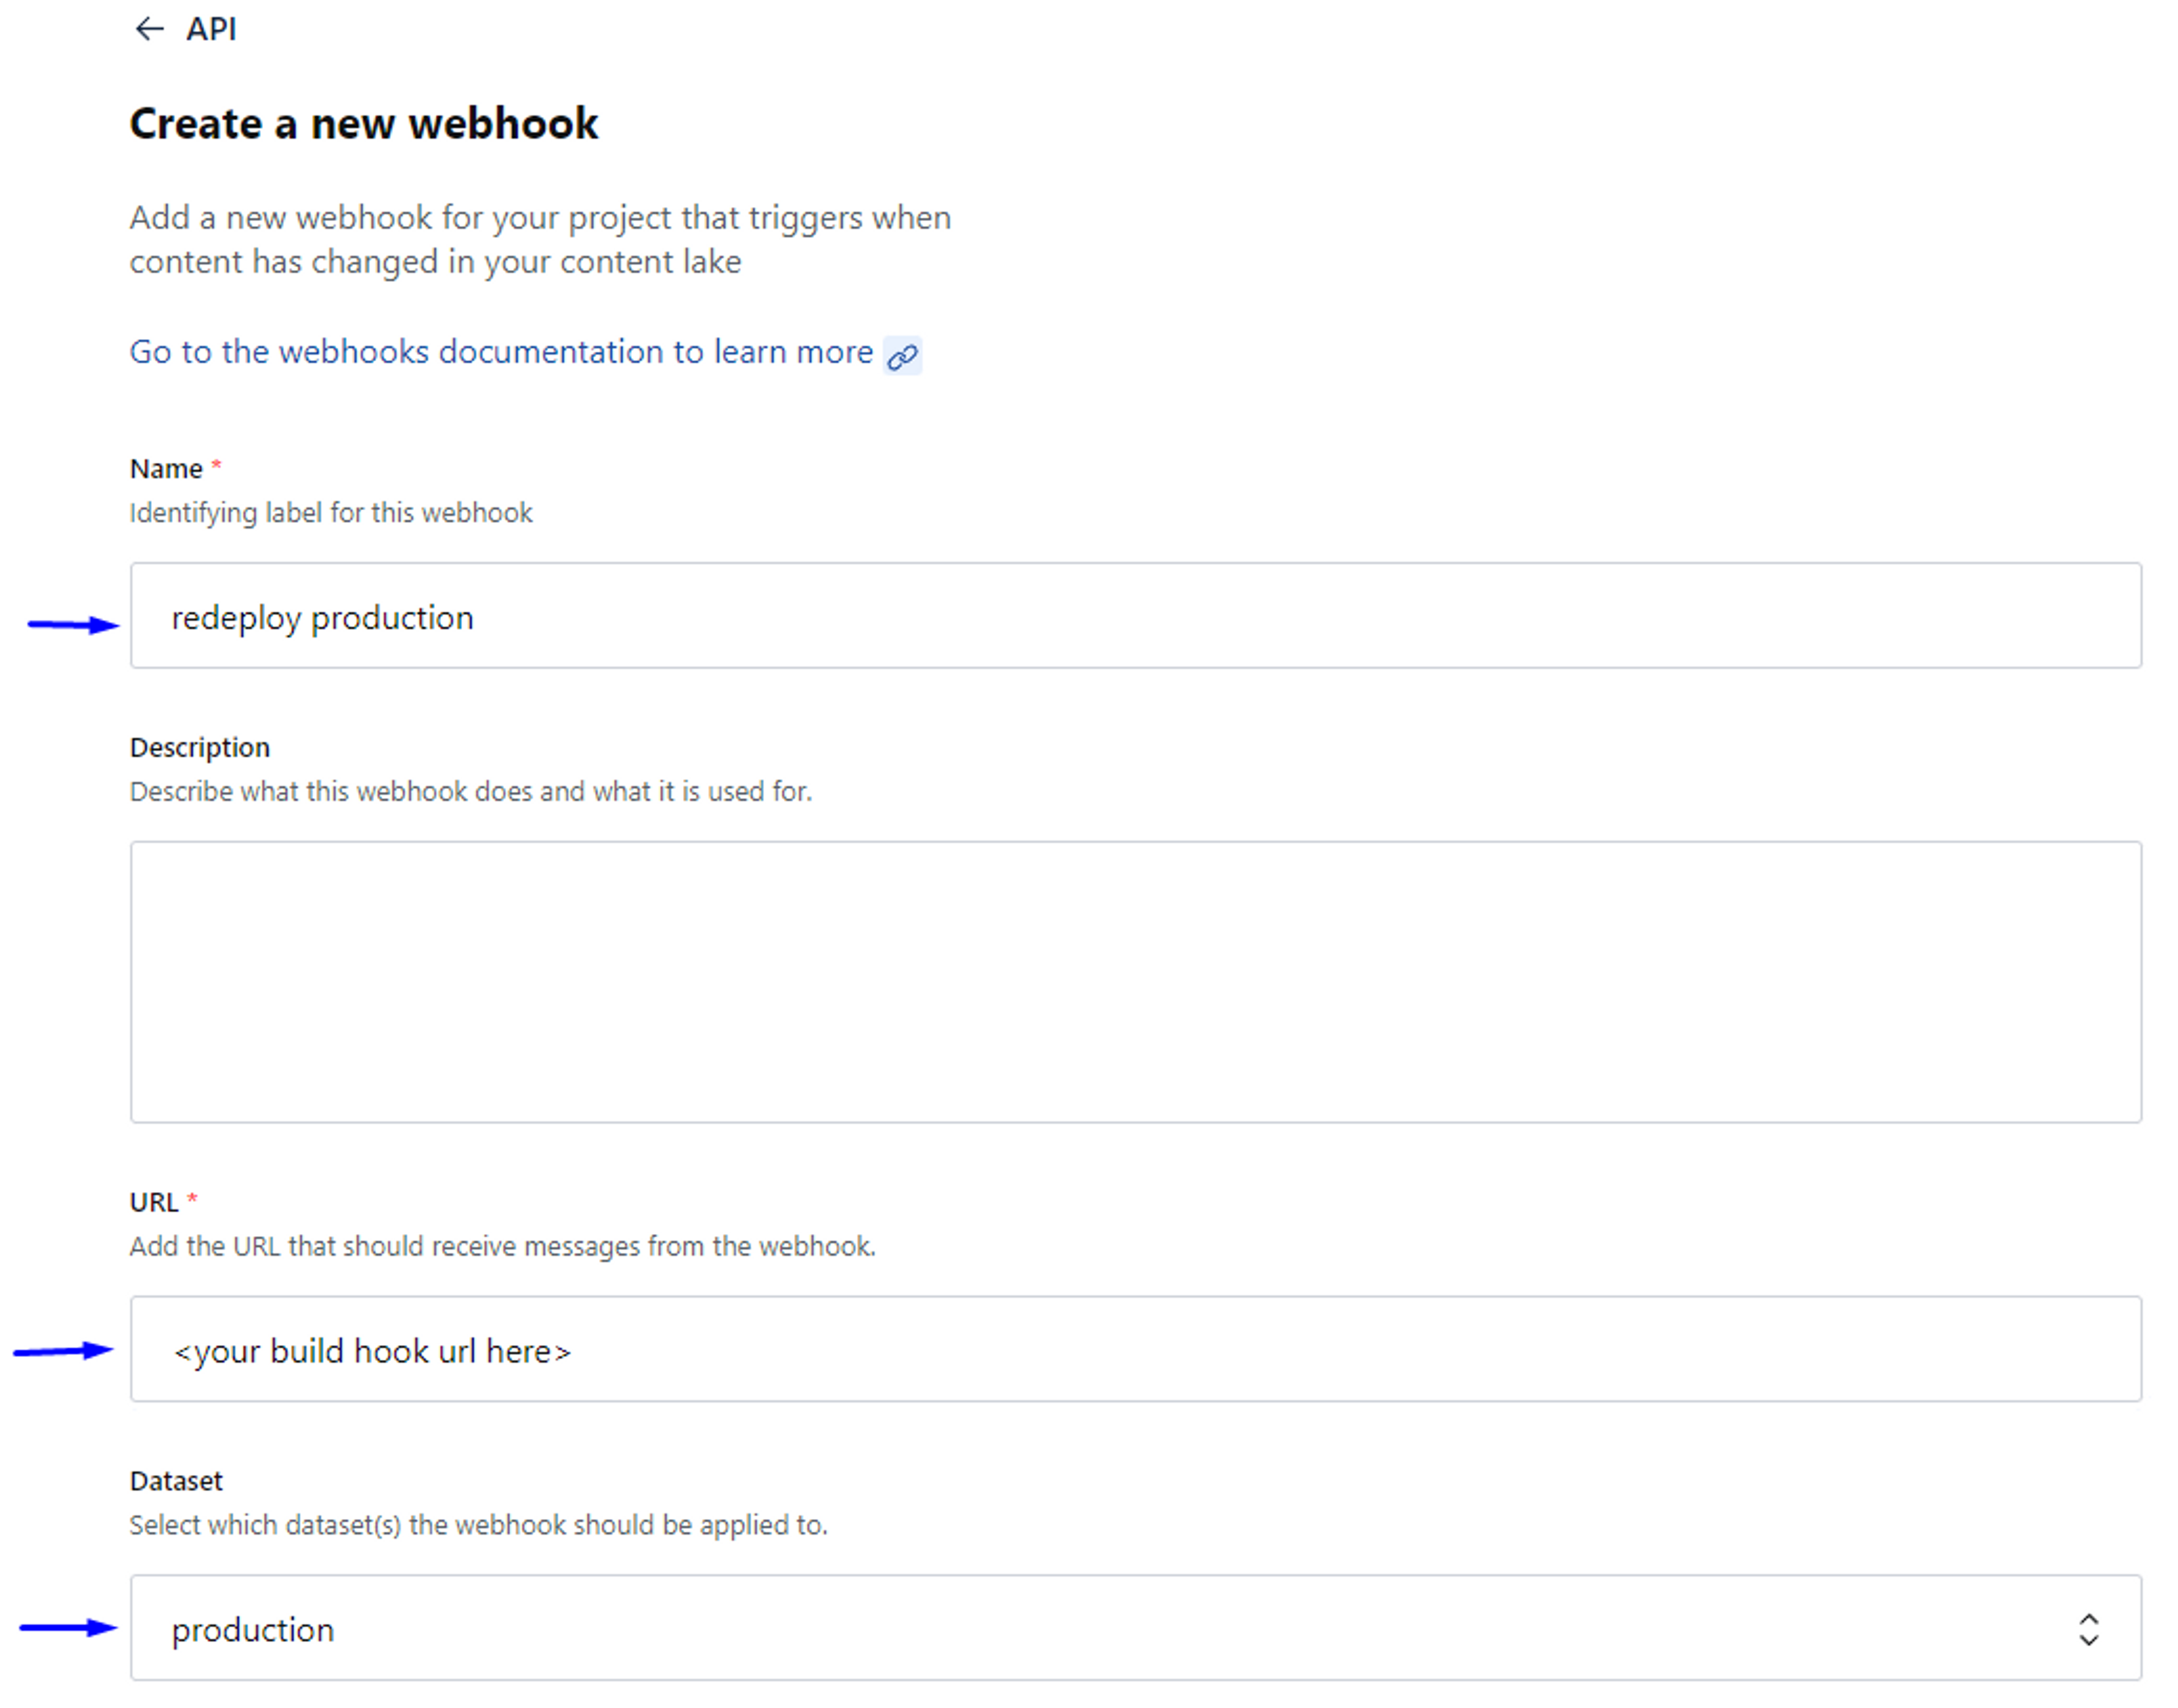
- In Sanity, create a webhook that points to the Netlify endpoint.
- Paste the URL from Netlify in the webhook configuration in Sanity.
- Sanity automatically triggers a new build whenever a dataset changes.
With this simple set up, everytime you update content through your CMS (Sanity), it will trigger a redploy of your app on Netlify.
Conclusion
In the first section you created a deployment for the blog. This deployment utilizes Netlify and triggers a rebuild and deploy whenever the Git repository is updated. In the second section, you set up a webhook so that your CMS can communicate with the hosting service and trigger a rebuild when the associated content changes. This setup truly employs the power of Next and automation so that all you need to do to update the website is commit code updates or change the blog's content.
I intentionally kept this post brief so some concepts were glossed over. Hopefully this still helps you get started and, as always, please feel free to leave feedback if you have questions or would like me to cover anything else in detail.